Testing Your Soil: A Guide
Testing Your Soil: A Guide
Having decent soil is of course a staple in any decent landscaped area. In fact, it is literally the foundation of all living things on your property. Since that is the case, shouldn’t testing it regularly be part of the landscaping process?
If testing your soil has never been on your radar and you don’t know where to start, never fear! Here is our detailed guide on the why, when, and how to test your soil.
First, let’s talk about why it’s an important task to complete.
Why Should You Test Your Soil?

For a decent landscaping and lawn set up, you really need to know the pH and the nutrient content of the soil you’re dealing with. Lawns can be grown on many different types of soil, so you don’t really know what you have until it’s tested.
It’s important to know because the fertilizer you use will change depending on what’s happening in the soil. If you have too much of certain nutrients, there could be imbalances in the soil and even damage to the environment. For example, too much nitrogen can actually cause groundwater contamination, contamination of waters from runoff, and leaching.
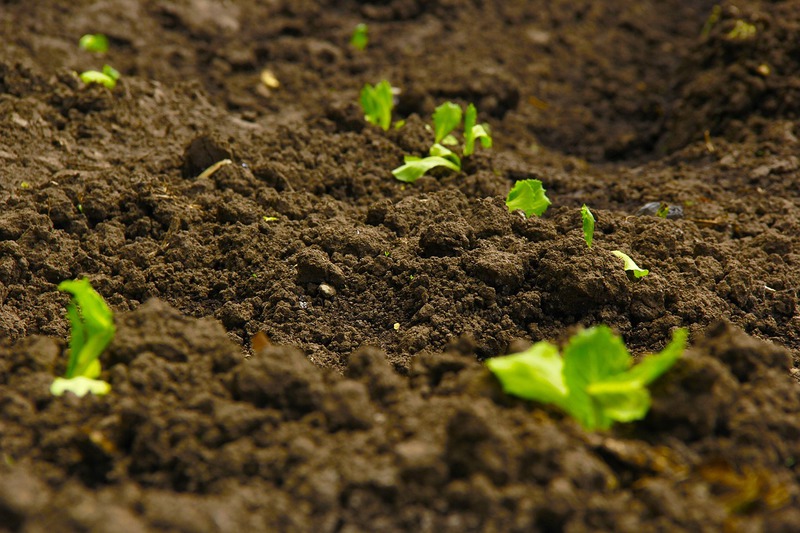
In short, balanced soil equals a thriving lawn, plants, flowers, and trees!
On top of knowing the amount of each nutrient you have in your soil, pH is vitally important to measure as well. pH is simply a measurement of how acidic your soil is.
The measurements range from 0-14. 0 is the most acidic (like vinegar) and 14 is the most basic (think chalk). For a lawn, you are typically going to want a pH between 6.8-7.2. Anything outside of that range on either side is going to make certain nutrients unavailable to anything growing. Even with additional fertilizer, grass and plants will not be able to absorb nutrients into their roots with an extreme pH level.
When Should You Test Your Soil?
Now that you are aware of how important it is to test your soil, let’s talk about when it should occur.
If you are new to the subject and you have never had your soil tested, now is the time. Typically this should happen no less than about once every 3 years. In more extreme cases, it should be done more frequently.
You should also have your soil tested if your plants and/or lawn are stressed or thin and discolored. These can often be signs of an unresolved soil problem. Lastly, if you are dealing with excessive weed growth, consider getting your soil tested. Weeds can grow in almost any conditions, so they are often a sign of nutrient deficiency, compaction, or drainage problems.
How to Test Your Soil
Last but not least, how does soil get tested?
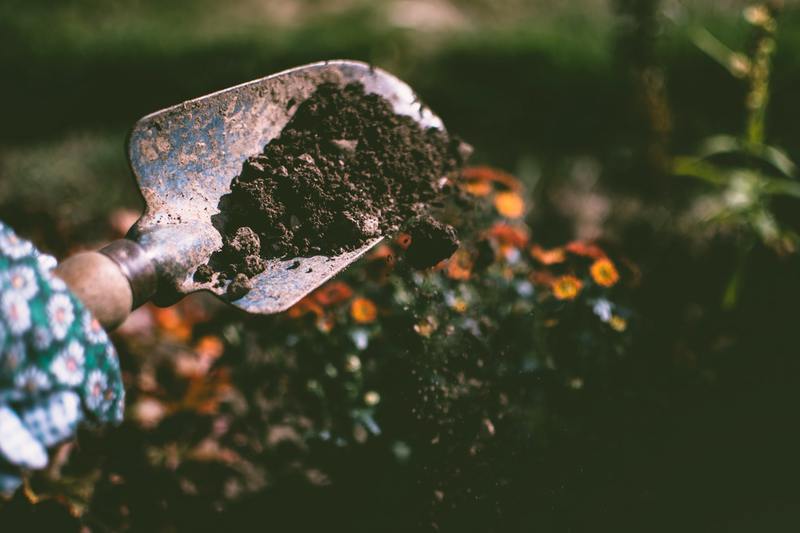
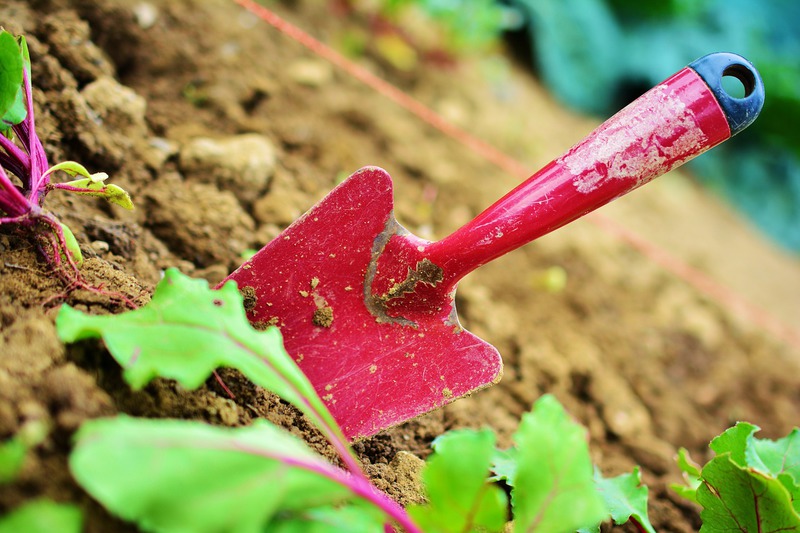
Testing your soil is actually a fairly simple process that can be completed without harming any plants, trees, or your lawn. It is usually done with a small tool called a soil probe, which pulls up plugs of soil from your landscape. If you are not interested in the tool, you can also use a small trowel and a cup to gather samples.
Several samples should typically be taken in order to get as accurate of a representation of the soil condition as possible. Per area, about 10 samples are appropriate.
Also, samples pulled from planting beds should be kept separate from those taken from the lawn areas. Since different areas are most likely receiving different fertilizers or treatments, putting them together will give you inaccurate readings.
Want to buy a soil probe? Here are some great options.
Our Final Thoughts on Testing Your Soil
If you are concerned with testing the soil on your property by yourself, consider contacting a local landscaping company to assist you with the process.
For those of you in the San Mateo or San Francisco Bay Area, consider contacting Homescape Now to assist you with your soil and landscaping needs!


